- The True Cost of Being a Digital Nomad in Canada in 2026 - January 8, 2026
- review: Arc’Teryx Gamma lightweight jacket – what OutdoorGearLab doesn’t tell you - October 22, 2025
- Has AI killed it all? The future of this website & my projects - October 12, 2025
If you have a Minirig 3 speaker (and subwoofer), then there are a few things to know about the speaker in order to maximize the potential of these little beasts.
I’ll go over some simple Minirig tips to help you get the best experience possible – whether you’re hosting small illegal raves or outdoor beach parties with friends.
If you haven’t yet, check out my full Minirig 3 review and Minirig subwoofer review, I go into a lot of detail on the speaker system and you might find out a lot about them.
Anyways, here a Minirig 3 guide to the best experience possible.
Table of Contents
Placement
Speaker placement is vital towards maximizing the performance and sound quality of your Minirig. Dealing with and even leveraging the acoustic space that you’re in can either make or break the sound dramatically.
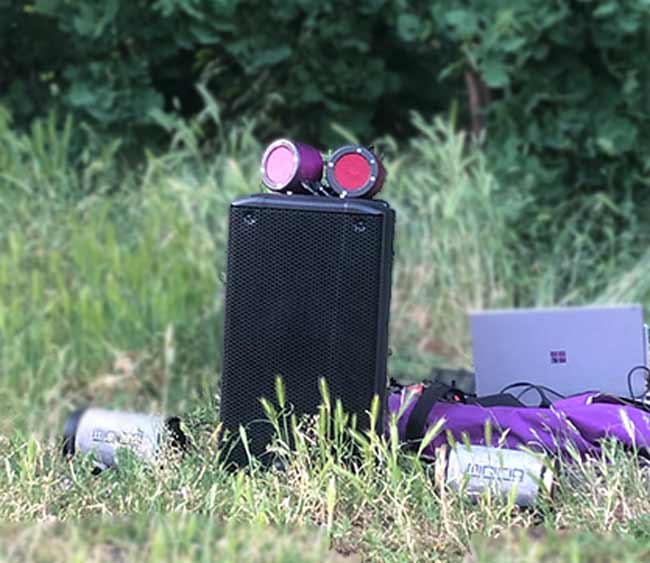
A great benefit that Minirigs have over typical plug-in speakers is that you can move them around easily. Test how they sound when placed in the middle of the room, in the corner, at ear level, facing up, facing sideways, etc.
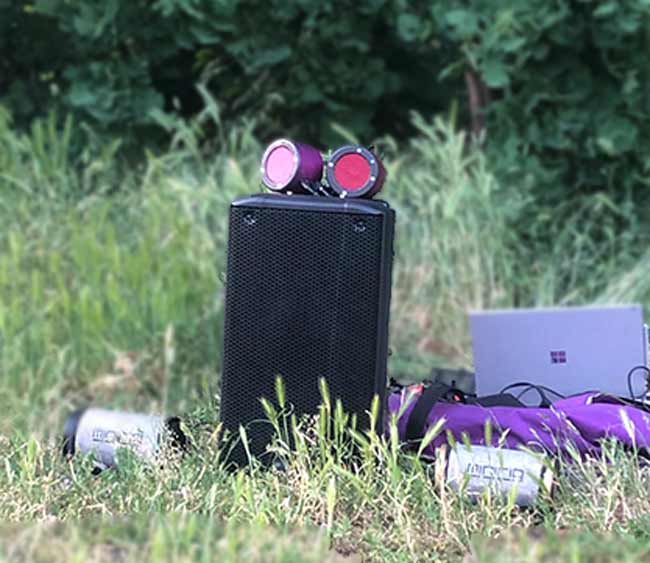

Experiment with the speaker to see how dramatically the sound changes from spot to spot.
If you have a Minirig subwoofer, place it in the corner! Bass loves corners and it’s easy to double or triple the output of air pressure simply by making some adjustments in placement.
(DIY) Minirig 3 speaker stand
Try pointing the Minirig facing straight up and then try it pointing right at your ear. Pretty big difference, hey?
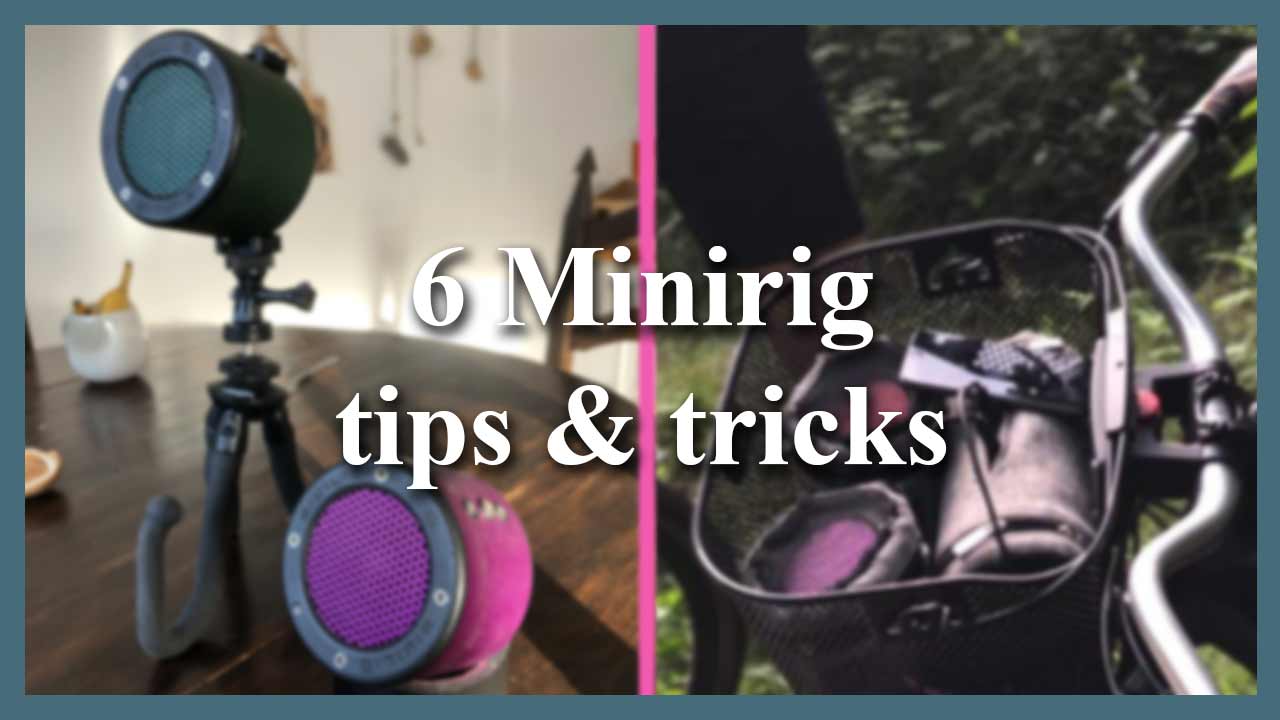
You can use the case as a type of speaker stand, but sometimes they’re a bit too flimsy to work properly. You can use a roll of tape or a phone tripod to make a DIY Minirig speaker stand.
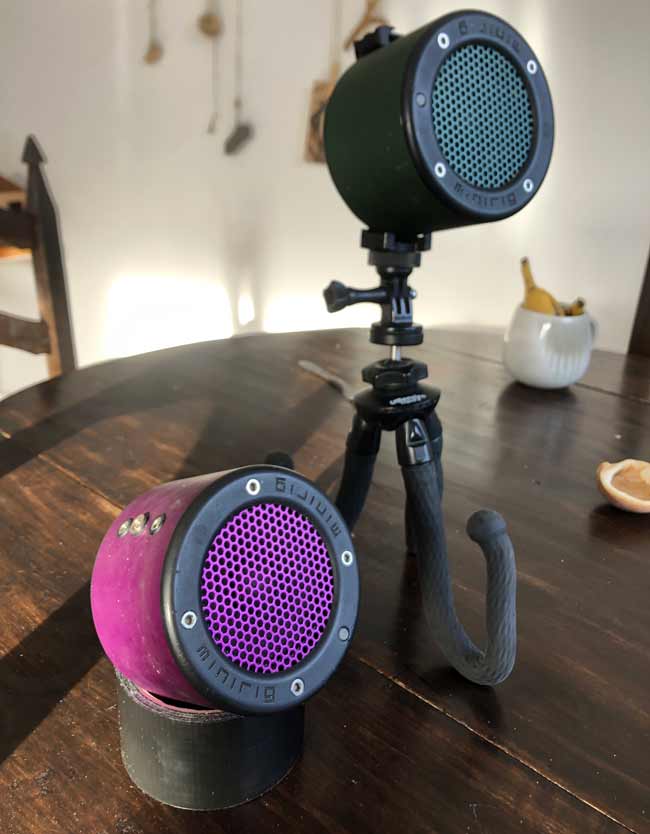

Alternatively you can 3D print a Minirig speaker stand and use that, however that of course requires a 3D printer or access to and will cost in materials, at which point the phone tripod makes more sense.
Equalizer
EQ is a great way to balance and adjust sound for higher output, better response, and more details. You can adjust these settings in the Minirig app or in your music player of choice – most music apps have equalizers (Spotify, Flacbox, etc).


Keep in mind though that once you chance the environment or room, the speakers acoustics will change notably and your previous EQ settings may not be useful anymore.
Cases
I love the little hemp/mesh cases that the Minirigs come with, however they do absorb a slight chunk of sound from the Minirigs!
While this is only really noticeable at high-max volume and particularly with the basses, this slight difference adds up when you consider all the other variables and if you’re pushing the rigs to the limit, it’s worth taking them off.


Source
Are you playing back in the best quality possible? If you stream from Spotify or SoundCloud use the highest bitrate playback possible. If using Apple music, use AAC playback.
The Minirig 3 has AptX and AAC codec support for Bluetooth streaming, which is a big benefit over typical Bluetooth lossy codecs.
If you’re using an iOS device, setting very high in the audio settings playback will enable AAC on both Spotify and SoundCloud.
Of course, the absolute best quality you can get is direct 3.5mm aux connection to the Minirig 3 and play off a source with a high-quality DAC or sound card.
While it may not seem like much, when pushing the limits of the speakers for small raves or parties, every 10% improvement helps and it’s worth digging into settings to get the best out of these little beasts.
Outdoors
Playing music from a Bluetooth speaker outside is usually a nightmare – sound dissipates easily and basses in particular suffer hardcore. However, there are a few things you can do to help.


- Find a tree – Place the Minirig/subwoofer at the tree trunk to help bass reflect towards yourself.
- Find a concrete block – Steps, curbs, etc – all help bass and the rest of the frequency range substantially.
- EQ – I use a custom ‘outdoors’ EQ which heavily drops mids/trebles and brings up basses for a more rounded sound
- Proximity – Place the speakers close because sound dissipates very rapidly outside.


Lost your Minirig charger?
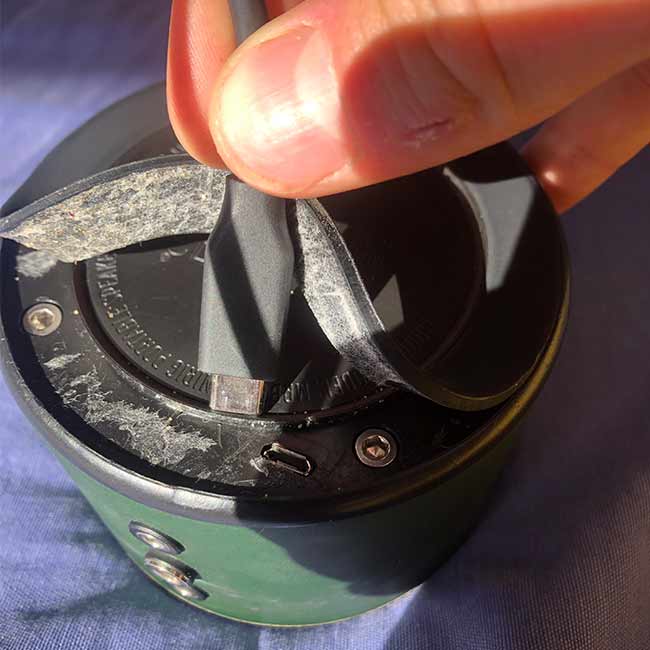
You can charge your Minirig 3 with a Micro-USB cable! Hidden underneath the rubber feet near the ports side is actually a hidden MicroUSB slot which you can charge your Minirig 3 with. Doing this probably voids your warranty.

Summary
So yeah, definitely good idea to enable all the HQ audio playback settings you can, experiment with speaker placement, and test out some different EQ settings to see how it impacts the sound. Check out the Minirig 3 user guide/manual to learn everything about it.
In my Minirig 3 review video I go into depth about these speakers and even tease the battery-powered portable DJ setup we used to host those illegal raves.
Lastly, check out the latest Amazon prices for the Minirig 3. I highly recommend a 2.1 setup and use mine daily. I hope you liked this write-up and feel free to ask questions if you have any!

